Apple Terminal is a command-line system that puts operating-system control back in the hands of the user. Many Mac users are frustrated by the lack of built-in user control over macOS and Mac OS X. Mac Terminal fixes that problem by making it easy for Apple computer users to retrieve data and manipulate the behavior of their computer by navigating a user-friendly interface and entering simple command lines. Apple terminal commands can be very useful.
Accessing Mac Terminal is super simple. In fact, Apple Terminal is already built into every Apple computer. As long as your Mac is running on a semi-recent or up-to-date version of macOS or Mac OS X, there are no extra downloads required to access Mac Terminal. All you have to do to start using Terminal is to open the Finder app on your computer, click on the ‘Applications’ tab located on the left toolbar of the Finder app, and scroll down and click on the ‘Utilities’ folder. Then, just double-click on the mostly black icon labeled ‘Terminal’ and Terminal will automatically and immediately launch, ready to use for your convenience.
The Mac Terminal interface can be intimidating for many users who have just discovered this efficiency-improving Apple app. Fortunately, Apple Terminal is much easier to use than its overly simplistic interface originally suggests. You don’t have to be an advanced tech expert to use and benefit from the Terminal command line system. Whether you’re just getting started with Apple Terminal or are already a seasoned user, keep reading to learn 5 of the most useful Apple Terminal commands.
1. Keep Your Computer Awake
caffeinate

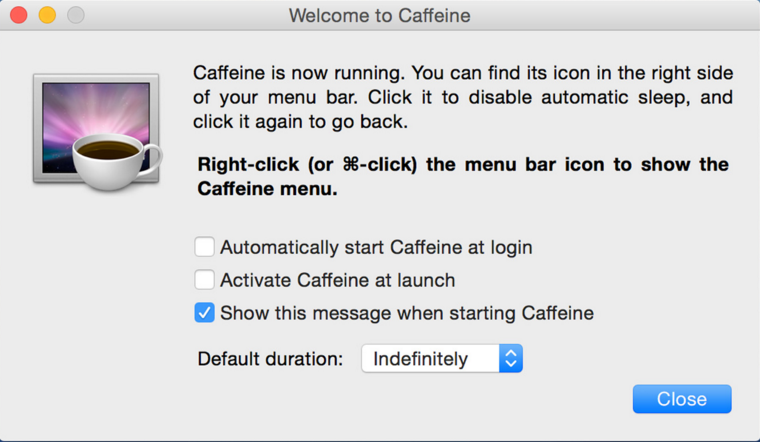
If it annoys you when your Apple computer falls asleep prematurely, the above Mac Terminal command is perfect for you. It does something very simple, yet very handy. It keeps your computer “awake” by preventing it from going into sleep mode indefinitely.
If you want to reverse this command—your computer has to enter sleep mode eventually, after all—you can end it by holding Control-C on your keyboard.
2. Check Your Computer’s Run Time
uptime
Check how long your computer has been actively running with this super simple Terminal command. This short and sweet Terminal command instantly shows you a timestamp that displays the date and time that you last logged into your computer.
From that information, you can determine exactly how long you’ve been actively using your computer.
3. Force Any File to Open
sudo defaults write /Library/Preferences/com.apple.loginwindow
If you’ve just got to get into that corrupted file, there is a way to open it. Just enter the above script into Apple Terminal, and the file will be forced to open.
It is important to note that this command only works for opening text-based documents, though.
4. Save Screenshots Wherever You Want
defaults write com.apple.screencapture location ~/your/location/here killall SystemUIServer
Are you tired of spending several minutes searching your computer for every screenshot you take?
This Terminal command allows you to save the screenshots you take on your Mac in whichever folder or location you prefer, so that they are always exactly where you expect them to be and you can quickly and easily find them.
5. Set a Custom Login Message
sudo defaults write /Library/Preferences/com.apple.loginwindow LoginwindowText “Desired Login Text.”
This Terminal command is both useful and fun. It allows you to set a custom login message for your Apple computer. Anyone who opens your computer, including you, will see this message as soon as they hit the login screen.
You can set this message to read anything you want, even if it’s just a friendly greeting. However, this Terminal command also allows you to set a useful message that includes your contact information and instructions on how to return the computer to its rightful owner should it get lost and fall into a stranger’s hands.
If you have an Apple computer, try out these top 5 most useful Mac Terminal commands for yourself to increase the efficiency of the time you spend using your computer and simplify your life for the better.

